🌍 The why
Worldbuilder in 30 minutes
WorldComposer is the living bible of your universe. The earlier you fill it, the more consistent your panels stay — AI pulls from it on every relevant generation. Here's how to set up a usable worldbook in one session.
🌍 The why
Why spend 30 minutes on this
AI has zero memory between generations. If your hero has white hair on page 3 and black on page 7, that's on you — not the model. The worldbook gives the AI a reference sheet it reads on every relevant panel.
- Visual consistency of characters from panel to panel.
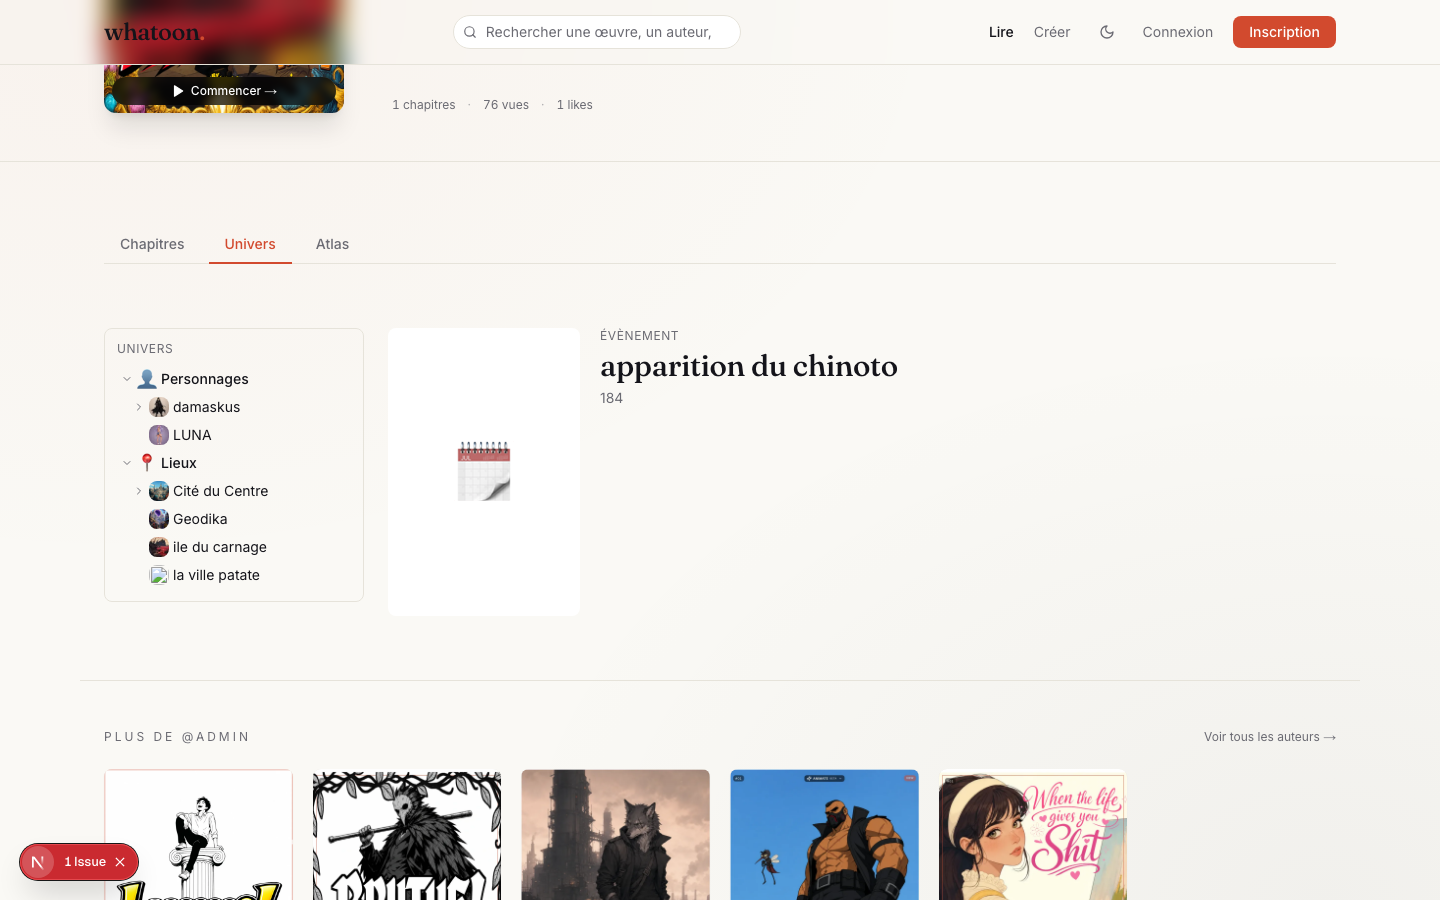
- Entries you mark public show up under the 'Universe' tab on your public work page — useful for readers who want to dig in.
- You reuse all of this for follow-up chapters — it's an investment, not a cost.
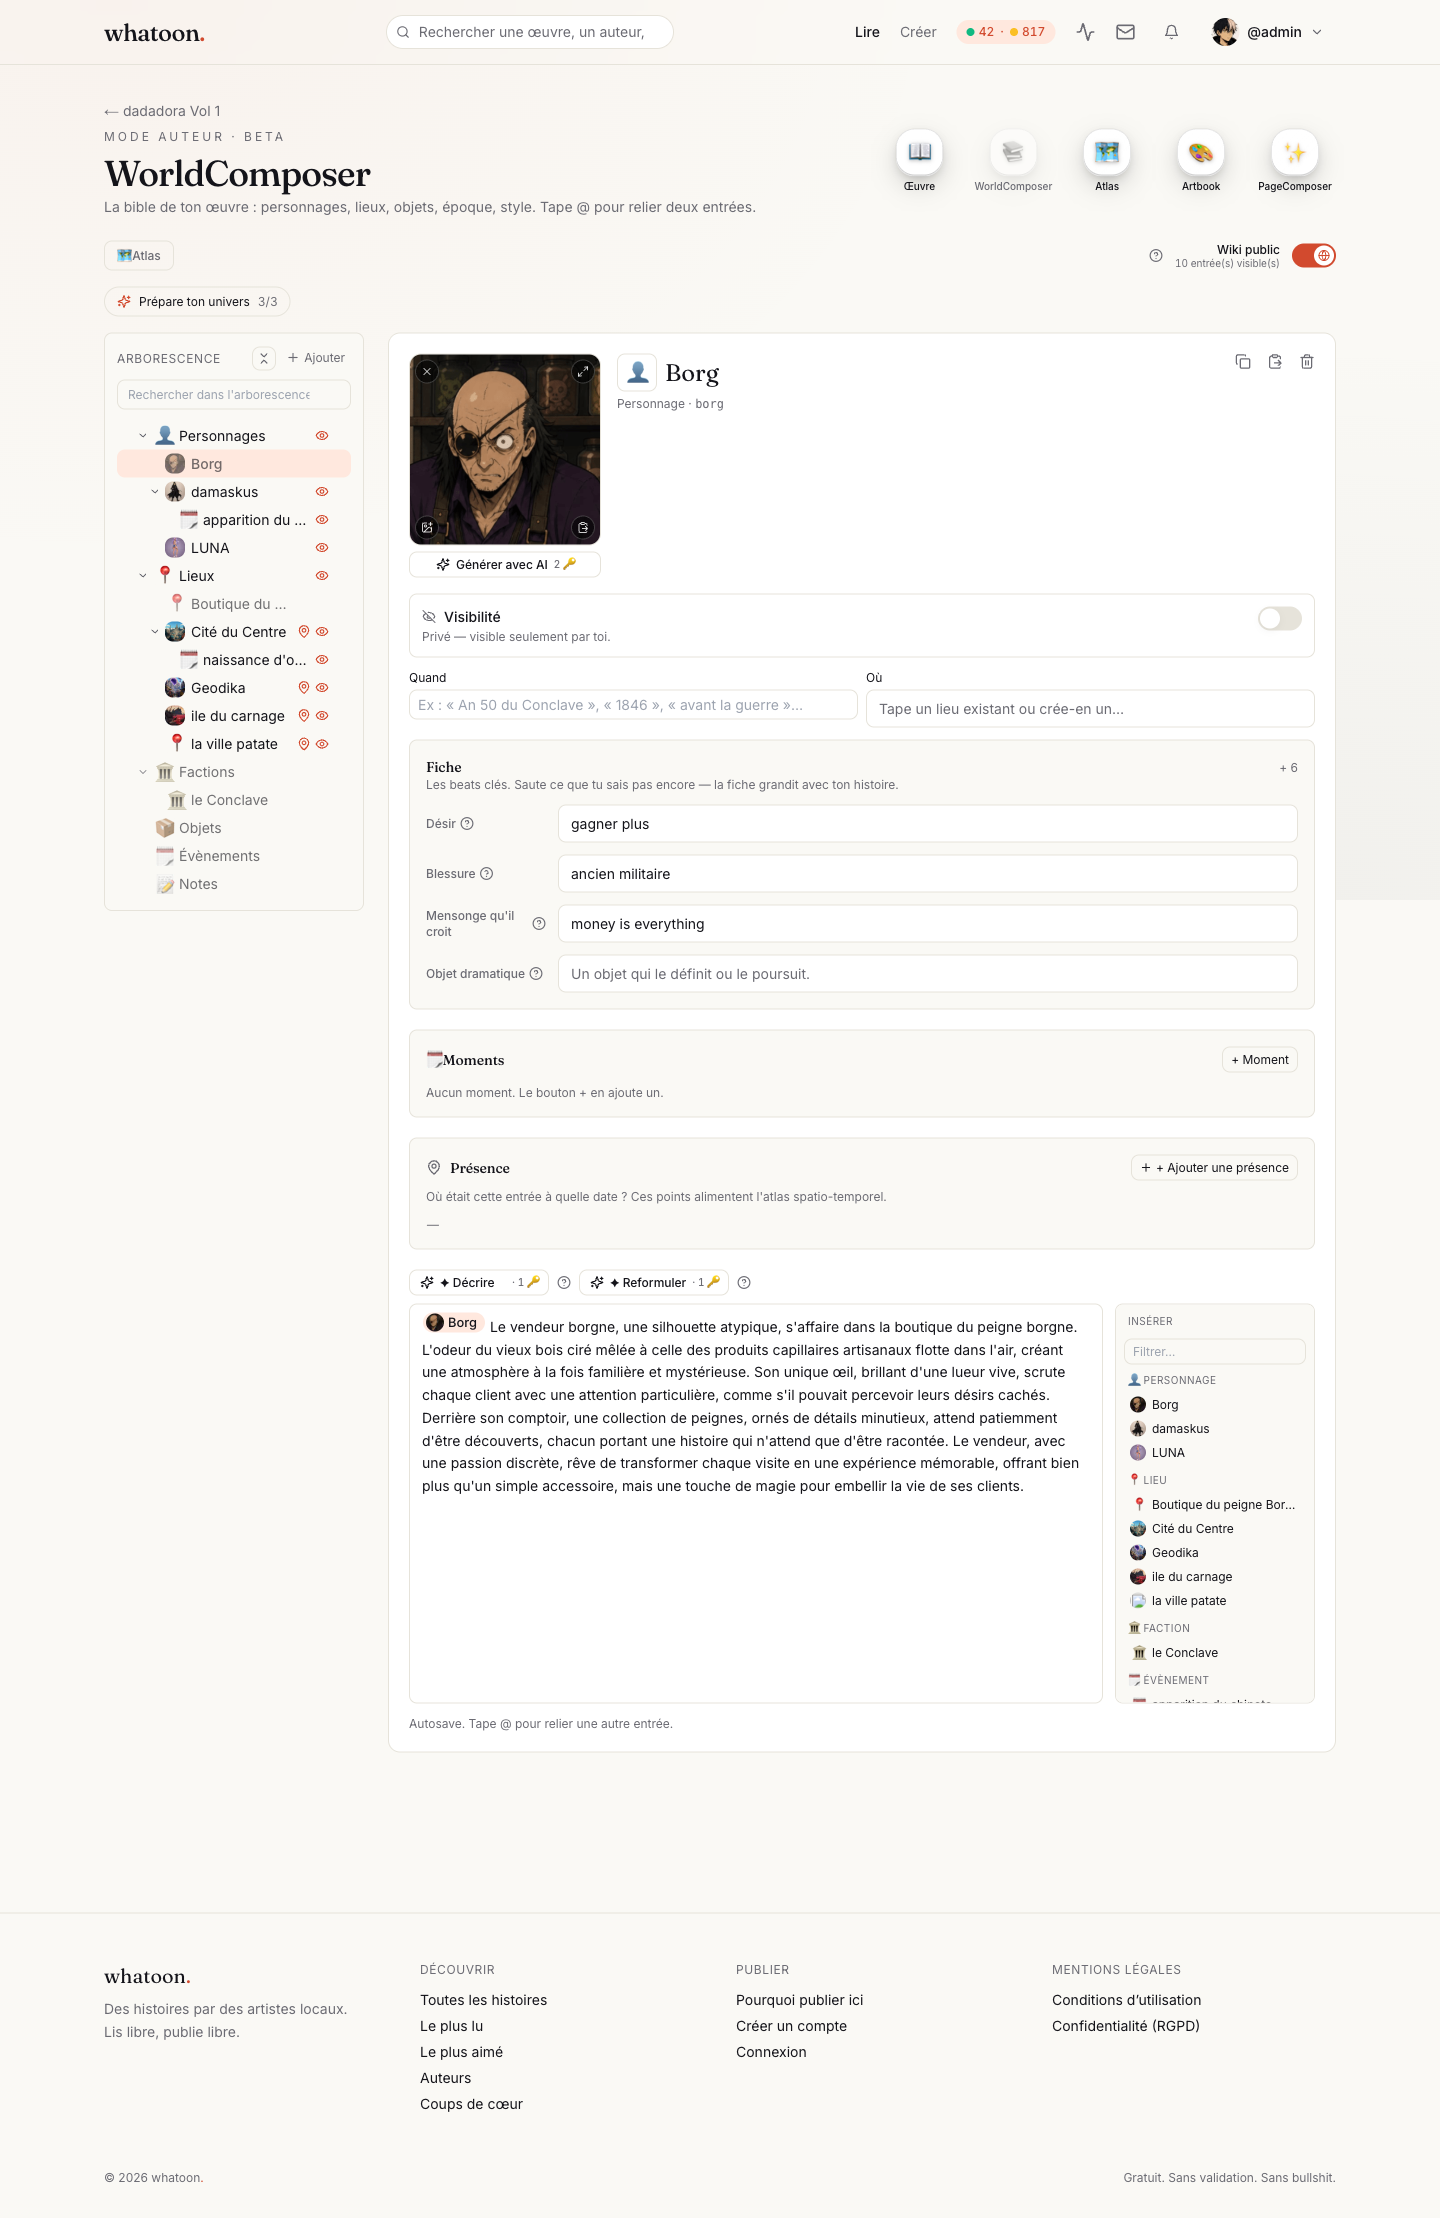
👤 First entry
Create your first character or location

Open WorldComposer from your work. Click 'New entry' and pick a kind: Character, Location, Object, Faction. Name + a short description (3-5 lines) is enough to start.
- Character: age, appearance, typical clothing, personality traits.
- Location: mood, era, visual landmarks (architecture, climate).
- Keep it short — AI summarizes anyway. Better 5 short entries than 1 massive one.
🎨 Visual ref
A picture is worth a thousand words
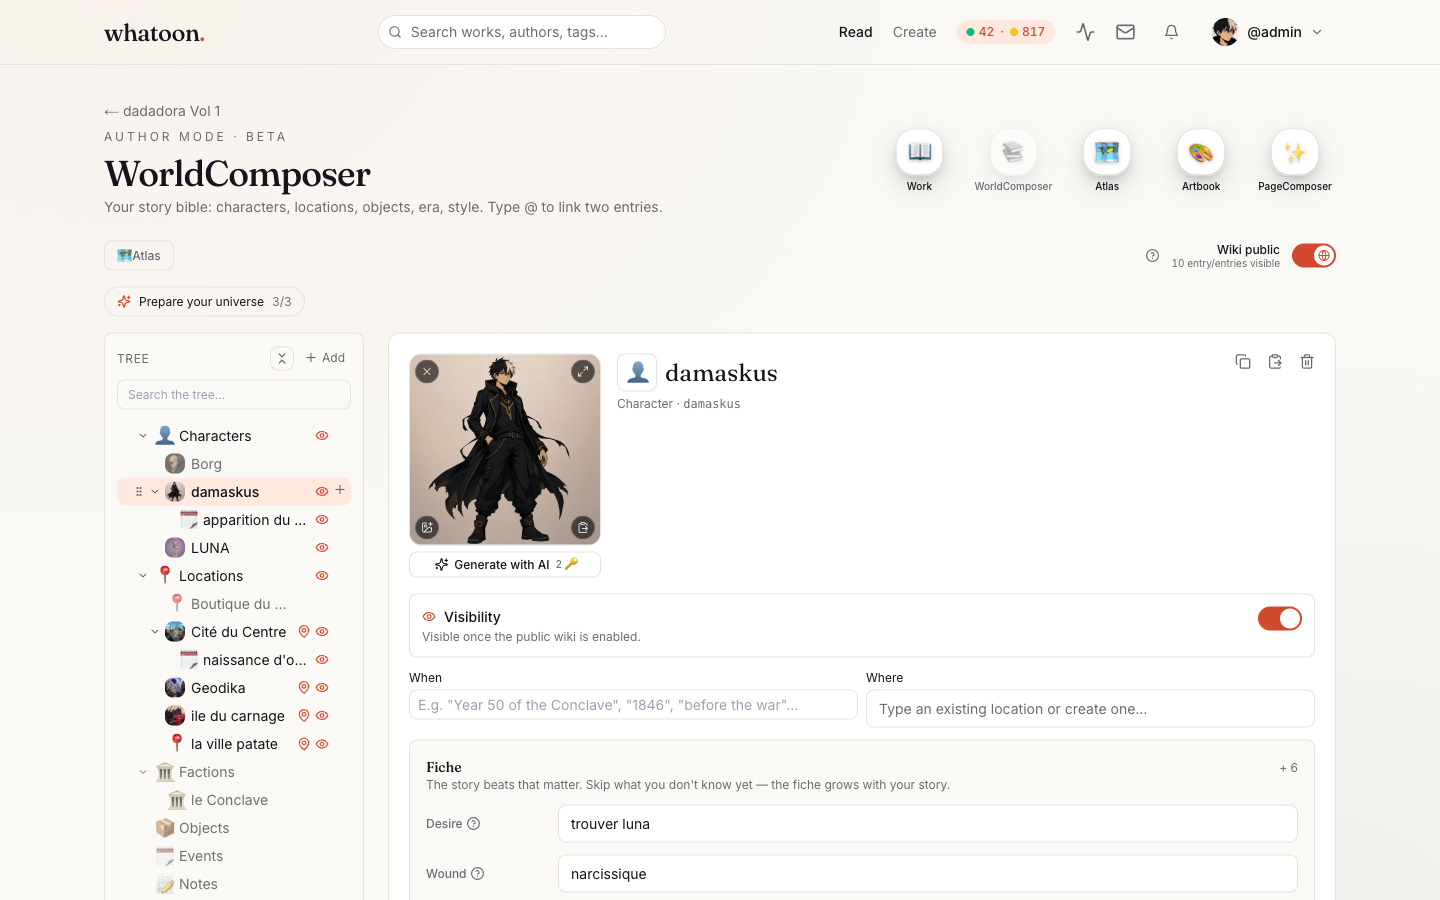
Upload your reference illustration OR click 'Generate image' to start from an AI prompt. The entry stores up to 4 variants as drafts — you can switch anytime. The reference image transmits to every panel where the character appears via @-mention.
- Chest-up or portrait shot — that's what AI reuses as guide.
- If generating: specify your work's style, lighting, age.
- Drafts keep the history — don't panic if v3 is worse.
@ Mentions
The secret: @-mention your entries

In a panel or page prompt, type '@' and pick your entry. AI then injects the description + image of the entry into its context. That's the difference between 'a brown-haired girl' and 'Yuna, 16, blue kimono, scar on left cheek'.
- You can mention multiple characters/locations in the same prompt.
- Mentions also work in panel notes and chapter descriptions.
- The picker shows your worldbook entries + local NPCs scoped to the chapter (one-off characters).
🔗 Relations
Linking entries to each other
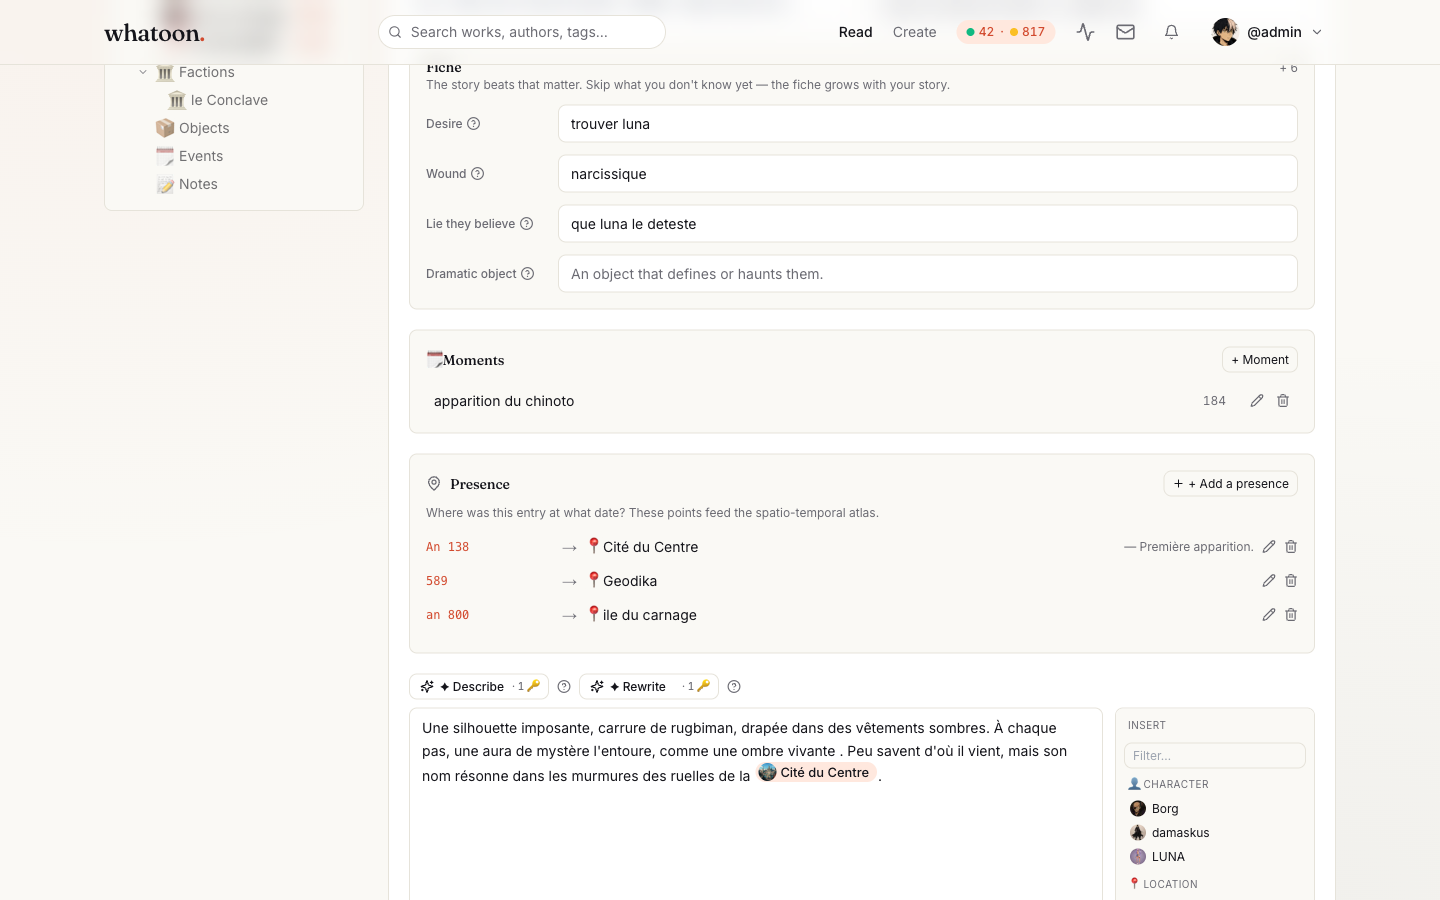
On each character entry, add relations: ally, rival, family, love, enemy. This feeds narrative consistency when AI generates dialogue or scenes with multiple characters, and keeps the timeline readable when you pick the work back up 3 weeks later.
🗺️ Atlas
Map of your universe
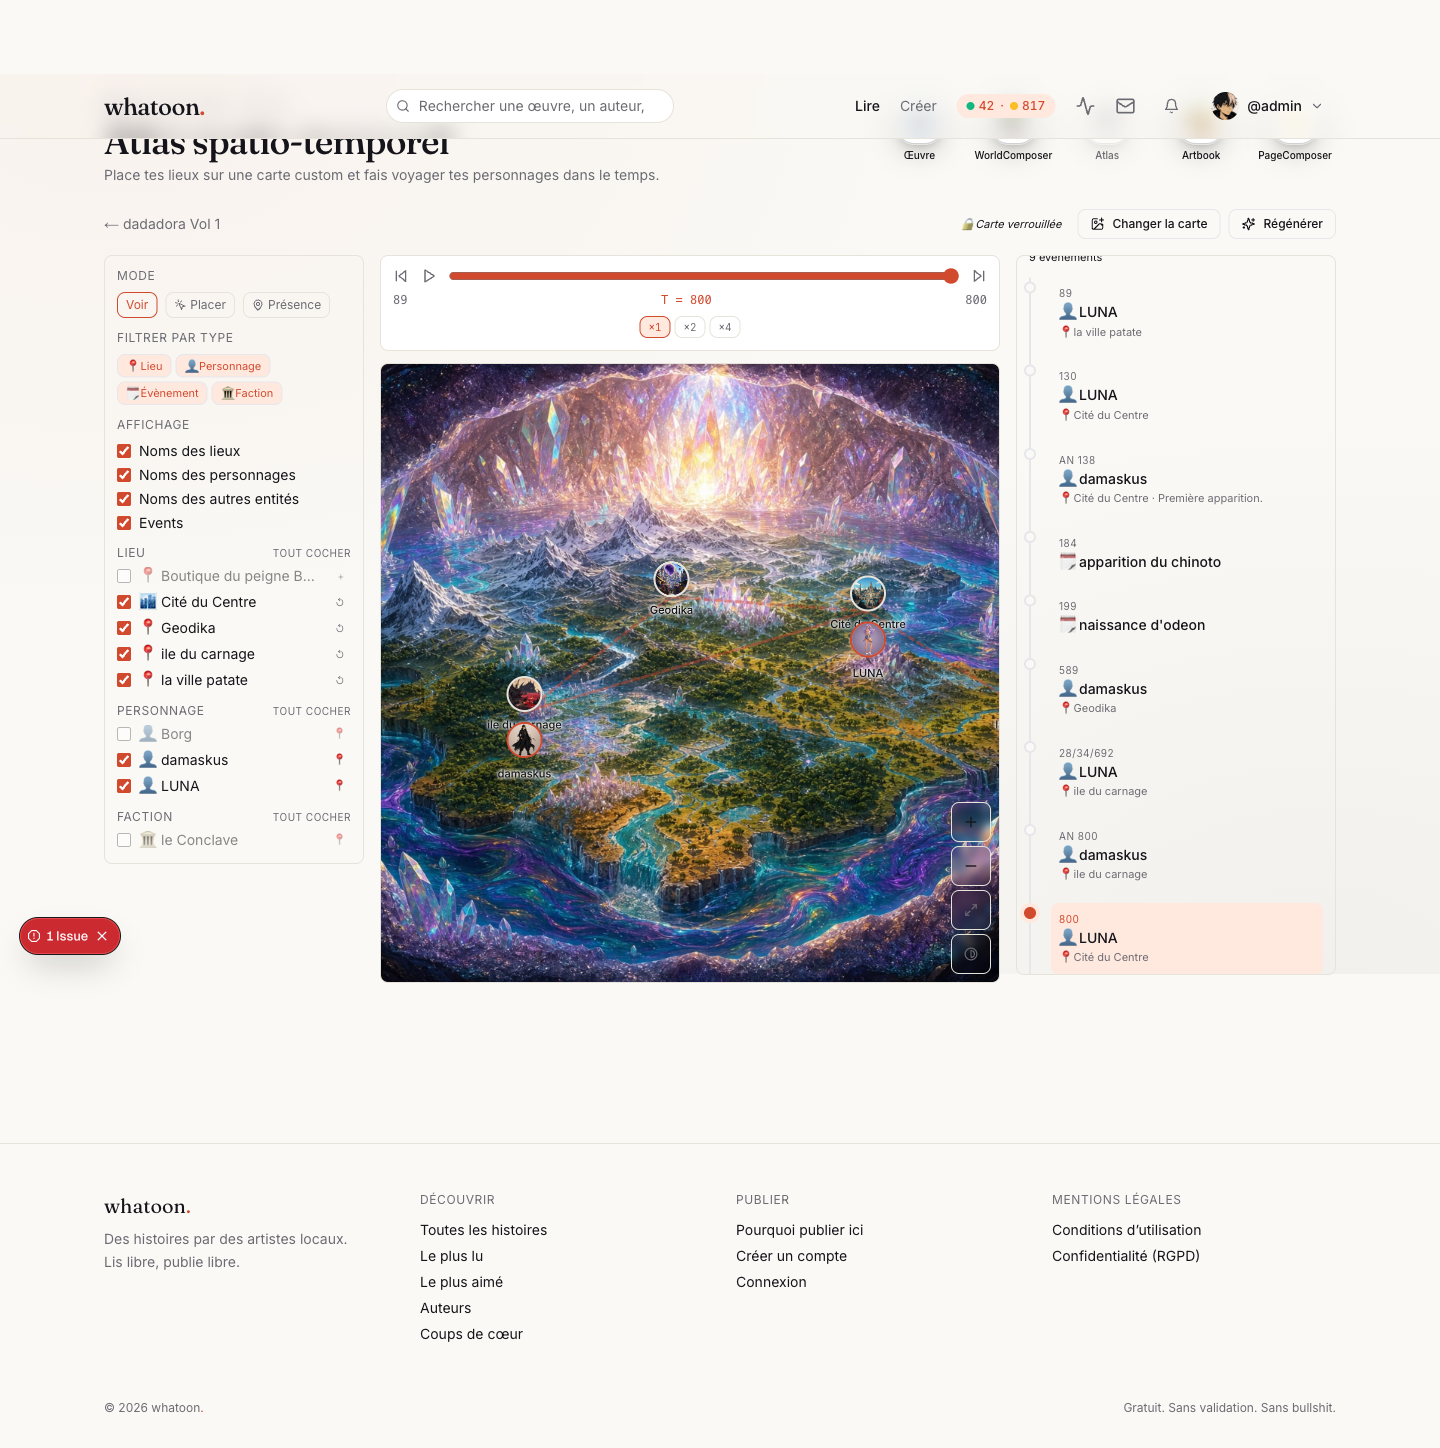
Atlas generates a real map (1536×1024) from a prompt — medieval fantasy, urban dystopia, tropical archipelago, your call. You can then drop your locations (Location-kind WorldEntries) on it as waypoints. Optional but immersive for adventure / fantasy works.
📚 Public wiki
Expose your universe to readers
Each entry has a 'Public in wiki' toggle. When you flip the master public-wiki switch on your work, a 'Universe' tab appears on your public work page — readers can browse entries you've marked public. Everything else stays private (author notes, spoilers, drafts).
✅ 30-min sprint
Minimal checklist to get going
You can polish later — the goal is ONE usable foundation before your first chapter.
- 3 main characters with reference image (15 min)
- 2 key locations (tavern, palace, school — whatever recurs most) — 5 min
- 1-2 important objects or factions (3 min)
- Relations between the 3 main characters (3 min)
- Optional: Atlas map if expansive universe (4 min)
Stuck on an entry? Back to creator resources